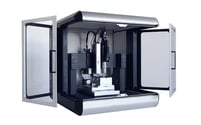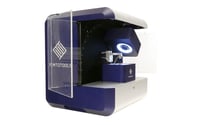
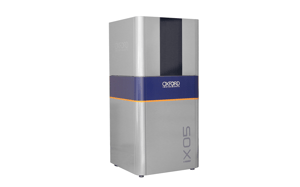
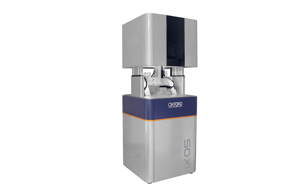
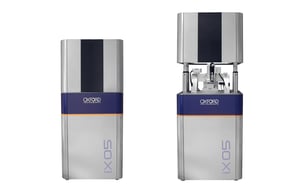
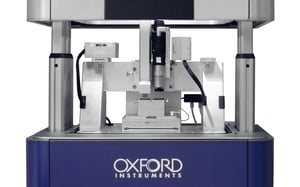
The iX05 is an operando nanoindenter. It is designed to measure local mechanical properties in real-world conditions such as high temperatures, low temperatures, high strain rates, or in liquid environments.
Traditional nanoindenters are optimized to measure materials in laboratory conditions. However, materials in practical applications often experience extreme environments that strongly influence their mechanical behavior. The iX05 is optimized to test materials in conditions representative of their targeted application.
The iX05 combines the high resolution and speed offered by MEMS-based technology with fast control electronics and environment control, making it the ultimate tool for measuring and visualizing mechanical properties of materials in a wide range of testing conditions.
Lorem ipsum dolor sit amet, consetetur sadipscing elitr, sed diam nonumy eirmod tempor invidunt ut labore et dolore magna aliquyam erat, sed diam voluptua. At vero eos et accusam et justo duo dolores-
At vero eos et accusam et justo duo dolores et ea rebum. Stet clita kasd gubergren, no sea takimata sanctus est Lorem ipsum dolor sit amet. Lorem ipsum dolor sit amet, consetetur sadipscing elitr, sed diam nonumy eirmod tempor invidunt ut labore et dolore magna aliquyam erat.
Stet clita kasd gubergren, no sea takimata sanctus est Lorem ipsum dolor sit amet. Lorem ipsum dolor sit amet, consetetur sadipscing elitr, sed diam nonumy eirmod tempor invidunt ut labore et dolore.
Key Features
- 01 Operando Nanoindentation
- 02 Ultra-Fast Nanoindentation
- 02 Ultra-High Resolution

The iX05 operando nanoindentation system offers high-temperature testing up to +800°C and cryo-temperature testing down to -150°C. It features a motorized chamber with environment control for testing in an inert gas atmosphere or high vacuum, minimizing oxidation and contamination.
|
-150 °C to +800 °C |
down to 5⋅ 10-4 mBar |

The iX05 offers ultra-fast nanoindentation capabilities, allowing nanoindentation mapping at up to 30 indentations per second. It delivers unmatched performance at high speeds by combining FemtoTools MEMS force sensors with ultra-fast electronics to provide sampling rate of 2 MHz and feedback frequency of 500 kHz.
|
up to 2N |
down to 100 pn |

The iX05 offers ultra-high resolution nanoindentation capabilities, to detect even the smallest variations in hardness and elastic modulus. It features displacement sensing with a noise floor below 5 pm over a range of 20 um, spanning 7 orders of magnitude. The instrument also includes interchangeable MEMS-based force sensors for SI-traceable force metrology, ranging from 100 pN (noise floor) to 2 N, covering 10 orders of magnitude. To ensure accuracy and precision, the iX05 comes with automated, high-precision calibration procedures, allowing for seamless use.
Testing modes

Nanoindentation
Nanoindentation assesses the local mechanical behavior of a material by pressing a sharp tip into its surface and measuring the force needed to create an indent. This technique measures local mechanical properties (including hardness, elastic modulus, strain rate sensitivity, and others) directly from the material's response.
READ MORE ->
Read More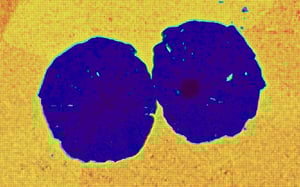
Mechanical Microscopy
Nanoindentation mapping, or mechanical microscopy, employs a nanoindenter in a microscope-like manner. It enables the mapping of mechanical properties of intricate microstructures in minutes, thanks to the integration of rapid indentation speeds and precise spatial resolution.
READ MORE ->
Read More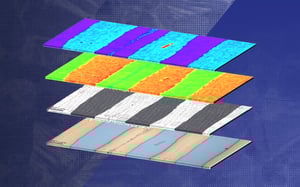
Correlative Mechanical Microscopy
Correlative mechanical microscopy merges nanoindentation with additional microscopy methods. This integration of various data layers enables precise phase identification by including elemental or crystallographic analysis in the mechanical measurement.
READ MORE ->
Read More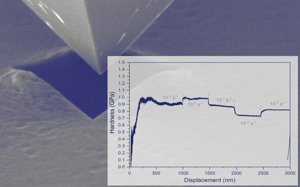
Strain-Rate Control
Time, like temperature, is a key parameter for materials deformation. Speed determines the active deformation mechanism. Strain-rate control during testing achieves the most consistent results and allows exploring the material's response from creep to impact, even within a single indent.
READ MORE ->
Read More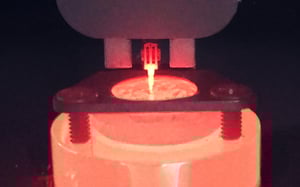
High-Temperature Testing
Temperature changes the mechanical behavior of materials. It is crucial for assessing operando mechanical properties, under conditions close to their target application. Using precision MEMS heating to achieve rapid temperature matching and thermal control, stable measurements can be performed even at high temperatures.
READ MORE ->
Read More
Scratch Testing
Scratch is a critical method for assessing materials’ adhesion, hardness, and resistance to wear - especially for coatings. It provides quantitative data on material durability and performance by scribing a hard tip across the surface and measuring the required force and the resulting topography.
READ MORE ->
Read More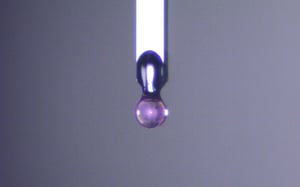
Soft Materials Testing
Polymers, metamaterials, or bio-inspired materials are critical for modern technologies. Analysis of these soft materials requires systems capable of both large displacements and high force resolution.
READ MORE ->
Read MoreApplication notes
Mechanical Microscopy of Surface Treatments
Correlated Mechanical Microscopy of Compositional Gradients (with EDX)
Nanoindentation of Thin Films: Advantages of CSM
Influence of Oscillation Amplitudes on Nanoindentation
Correlated Mechanical Microscopy with EBSD and EDX for Complex Microstructures
Accessories
- 01 High-Temperature Module
- 02 Cryogenic Testing Module
- 03 Scratch Testing Module
- 04 Ultra-Fast Mapping Module
- 05 Microforce Sensing Probes
- 06 Two-Axis Microforce Probes
- 07 High-Temperature Probes

High-Temperature Module
The High Temperature Module enables heating of specimens up to 800°C. In combination with the FemtoTools Microforce sensing Probes with active tip-heating, it makes isothermal nanomechanical testing of samples at various temperatures easy to perform.
By performing tests in high vacuum, the oxygen content can be reduced by a factor of one million compared to systems that use inert gas preventing unwanted oxidation.

Cryogenic Testing Module
The Cryogenic Temperature Module uses liquid nitrogen as a cooling agent to achieve temperatures as low as -150°C, allowing experiments to be conducted at extremely low temperatures. By operating under high-vacuum conditions, the iX05 effectively prevents condensation-related issues, ensuring smooth and reliable experimentation at cryogenic temperatures.
Scratch Testing Module
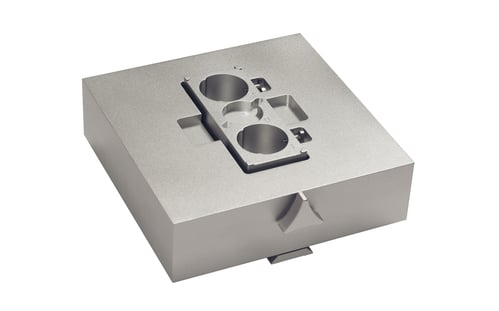
Combining an exchangeable sample stage with a piezoscanner and a FemtoTools 2-Axis Microforce Sensing Probe enables advanced techniques, such as nano-scratch and nano-wear testing, as well as SPM imaging, by facilitating the in-plane movement of the sample while simultaneously applying a normal force.

Ultra-Fast Mapping Module
The ultra-fast mapping module boosts the speed of indentation from 3 indents per second to up to 30 indents per second, enabling the generation of high-resolution maps with over 90’000 indents in under an hour. The specialized sample stage is essential for rapidly accelerating, stopping, stabilizing, performing the nanoindentation measurement, and then accelerating to the next indent position in under 33 milliseconds, all while maintaining exceptional accuracy.
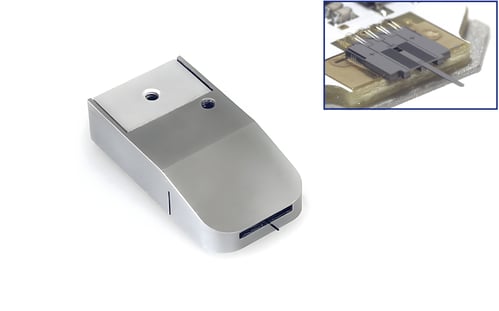
Microforce Sensing Probes
The Microforce Sensing Probes are sensors capable of measuring forces from sub-nanonewton to 2 newtons along the sensor’s probe axis. They are available with a wide variety of tip materials and geometries, including diamond Berkovich, cube corner, flat punch, wedge, conical, and more.
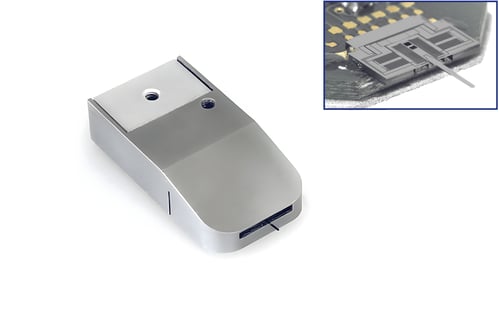
Two-Axis Microforce Sensing Probes
The Microforce Sensing Probes are Micro-Electro Mechanical Systems (MEMS) based multi-axis microforce sensors capable of simultaneous measuring forces in the two in-plane directions. The primary application for these sensors is nano-scratch, nano-tribology and nano-wear testing.
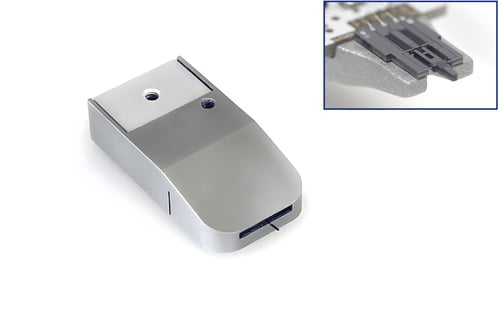
High-Temperature Microforce Sensing Probes
The High-Temperature Microforce Sensing Probes are Micro-Electro Mechanical Systems (MEMS) based microforce sensors capable of measuring forces from 200mN to 2 µN. Furthermore, with the monolithically integrated tip heater, the temperature of the nanoindenter tip can be accurately matched to the temperature of the sample, enabling isothermal testing conditions.

